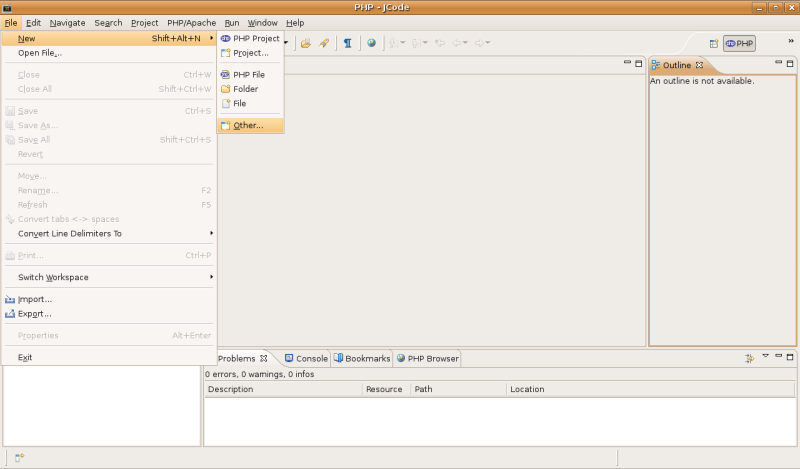
The first step is to actually create the project. To do this, click on the File menu, mouseover 'New' and select 'Other...'.
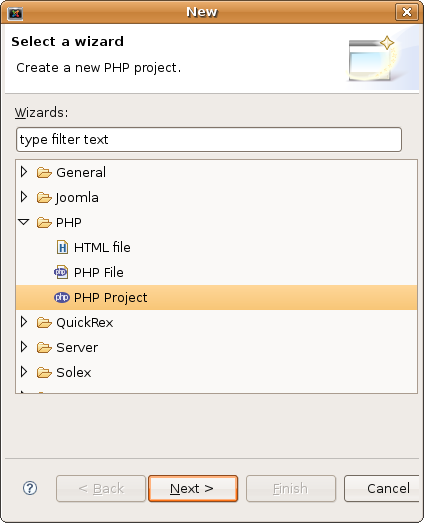
When the Window appears, open up the PHP section and select PHP Project.
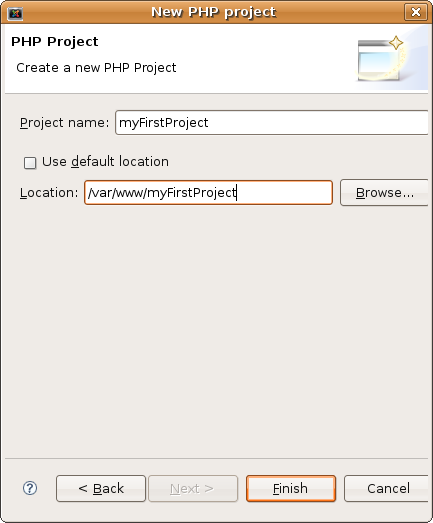
When the New PHP Project window appears, select a name for your project. If your workspace is not inside your webroot, it is recommended to create your project in a directory that is. To do this, uncheck 'Use default location' and enter an alternative path instead. When you have entered a project name and a path, click the 'Finish' button to continue.
Eclipse will then create an empty PHP project for you. Your workspace should now have a PHP project, similar to the figure below.
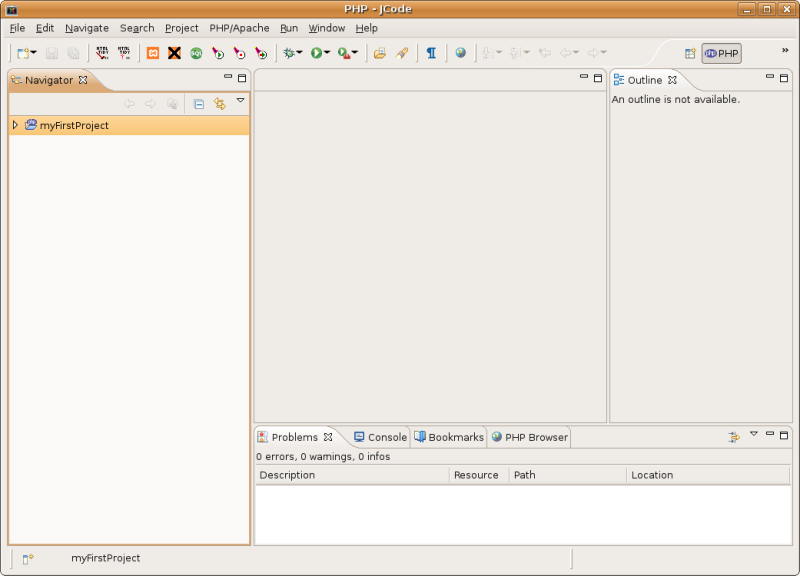
The PHP Project has now been created and you can now start
adding files and source code to your project. Note the blue PHP icon in
the top right corner - this indicates that you are now in the PHP
Perspective. An Eclipse perspective is a customized environment that is
geared towards a certain task. There are certain things that are helpful
to have visible while coding in PHP, for example, and other things that
might be useful to have visible when coding Java, and still others that
are useful during debugging. The PHP Perspective is the perspective that
is used for writing PHP code.